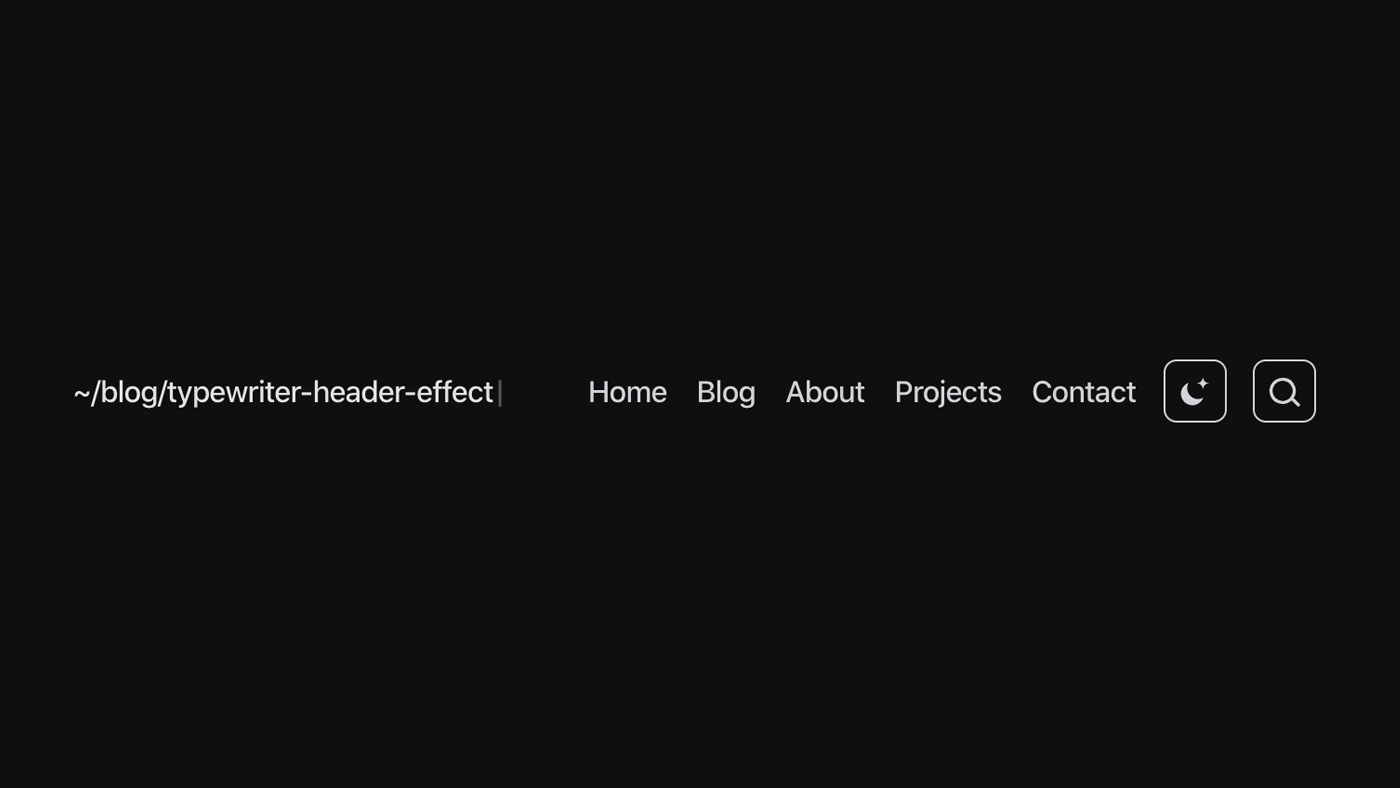

See It In Action:
Well, if you're reading this, you can see it for yourself. Go to any page on my site and notice how the navigation header updates itself seamlessly—whether you're viewing pages or blog posts, even in mobile mode.
Typewriter Effect:

I'm sure you've seen the typewriter effect countless times, especially in basic, entry-level web templates. However, adding dynamic text effects to your website can greatly enhance the user experience and make your content more engaging.
In this blog post, I'll walk you through how I implemented a typewriter effect in the header of my Next.js 14 site using TypeScript, Tailwind CSS, and the App Router.
Getting Started:
To get started, you'll need to install the typewriter-effect package, which simplifies the process of creating a typewriter animation in React components. And, here's the Documentation Page
# with npm
npm i typewriter-effect

# with yarn
yarn add typewriter-effect
To see if it's working as intended, use the base version of the typewriter effect for testing, import it into your page:
import Typewriter from 'typewriter-effect';

<Typewriter
  options={{
    strings: ['Hello', 'World'],
    autoStart: true,
    loop: true,
  }}
/>
Setting Up the Header Component:
Here's a breakdown of the header component where the typewriter effect is implemented, in my case it's in 'app/components/header.tsx'.
Pathname Detection: First, I used Next.js's usePathname hook from next/navigation to get the current pathname. This is crucial because we want the typewriter effect to re-run whenever the user navigates to a different page.
const pathname = usePathname();State Management: Then, I added a useState hook to keep track of the current pathname. This ensures that the component re-renders whenever the path changes, triggering the typewriter effect again with the new path.
const [currentPath, setCurrentPath] = useState(pathname);Using useEffect: The useEffect hook monitors changes in the pathname and updates the currentPath state accordingly. This way, the typewriter effect is triggered whenever the user navigates to a different page.
useEffect(() => {
  setCurrentPath(pathname);
}, [pathname]);
Implementing the Typewriter Effect: The Typewriter component is key to this implementation. I passed currentPath as a key prop to ensure the component re-renders whenever the path changes. This is important because without this, the typewriter effect wouldn't re-run on a path change.
In the onInit function, I used the typeString method to display the current path. The options object is where you can customize the typewriter effect's behavior, like delay and cursor visibility.
<Typewriter
  key={currentPath} // Ensure the component re-renders on pathname change
  onInit={(typewriter)=> {
    typewriter
      .typeString(`~${currentPath}`)
      .start();
  }}
  options={{
    loop: false,
    deleteSpeed: 0,
    delay: 50,
    cursor: '',
  }}
/>
Styling with Tailwind CSS: The typewriter effect is wrapped inside a styled div element. Tailwind CSS is used for styling, providing a clean and responsive design for the header.
<div className="flex rounded-full etc etc etc your-styling-here">
My Header:
This is what my header.tsx file looks like:
import { usePathname } from 'next/navigation'
import Typewriter from 'typewriter-effect'
import Link from 'next/link'
import { useState, useEffect } from 'react'

const Header = () => {
  const pathname = usePathname()
  const [currentPath, setCurrentPath] = useState(pathname)

  useEffect(() => {
    setCurrentPath(pathname)
  }, [pathname])

  return (
    <Link href="/" aria-label="Home">
      <div className="flex rounded-full bg-white/90 px-3 py-2 text-sm md:text-md font-medium tracking-tight items-center ring-1 ring-zinc-900/5 backdrop-blur justify-center shadow-lg shadow-zinc-800/5 dark:bg-zinc-800/90 text-purple-600 dark:text-purple-400 hover:text-purple-800 dark:hover:text-purple-200 dark:ring-white/10 dark:hover:ring-white/20 transition">
        <Typewriter
          key={currentPath} // Ensure the component re-renders on pathname change
          onInit={(typewriter)=> {
            typewriter
              .typeString(`~${currentPath}`)
              .start()
          }}
          options={{
            loop: false,
            deleteSpeed: 0,
            delay: 50,
            cursor: '',
          }}
        />
      </div>
    </Link>
  )
}

export default Header
Conclusion:
With these steps, you can create a dynamic and engaging header for your Next.js website that updates the path with a typewriter effect whenever the user navigates to a different page. This effect adds a subtle but impactful touch to your site's user experience.
Again, here's the here's the Typewriter Documentation Page, remember to install the necessary packages, manage state effectively, and ensure that your component re-renders appropriately on navigation changes. The combination of Typewriter, useState, useEffect, and Tailwind CSS makes this possible. Hope this helped and happy coding!